The vector stencils library "Hockey positions" contains 13 symbols for drawing ice hockey player positions diagrams.
The symbols example "Hockey positions - Vector stencils library" was created using the ConceptDraw PRO diagramming and vector drawing software extended with the Hockey solution from the Sport area of ConceptDraw Solution Park.
The symbols example "Hockey positions - Vector stencils library" was created using the ConceptDraw PRO diagramming and vector drawing software extended with the Hockey solution from the Sport area of ConceptDraw Solution Park.
Center
Left Winger

Right Winger

Left Defenseman

Right Defenseman

Goaltender
Center

Left Winger

Right Winger

Left Defenseman

Right Defenseman

Goaltender

Wavy arrow
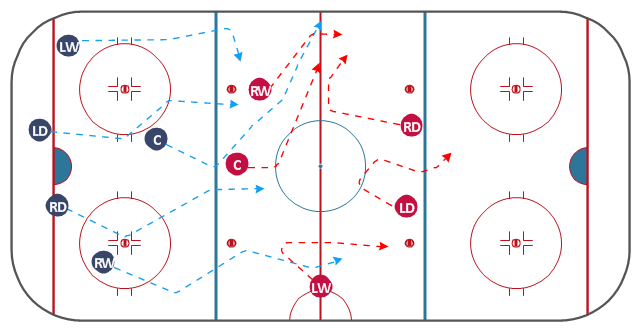
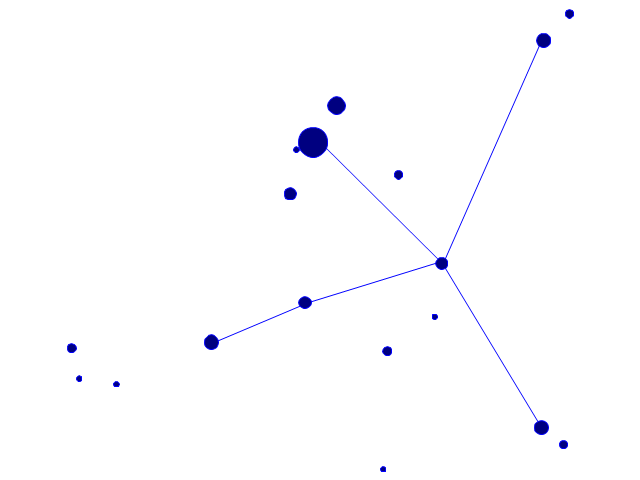
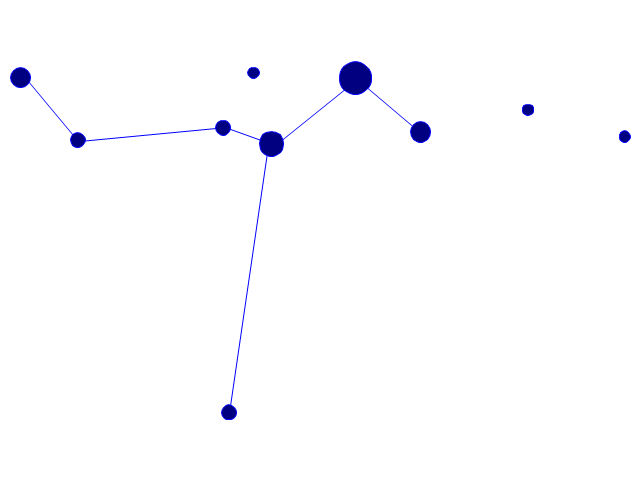
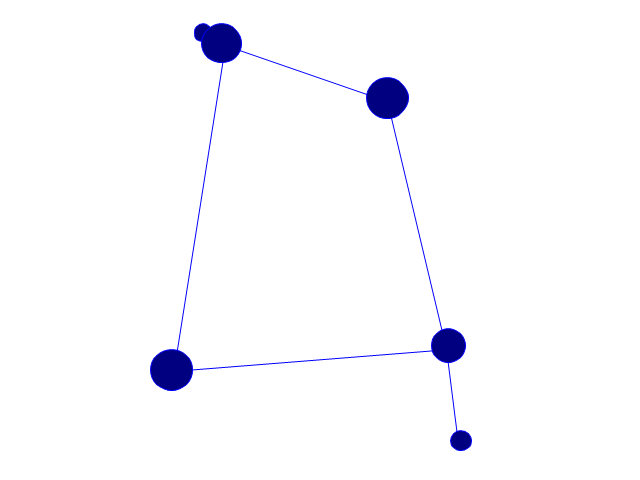
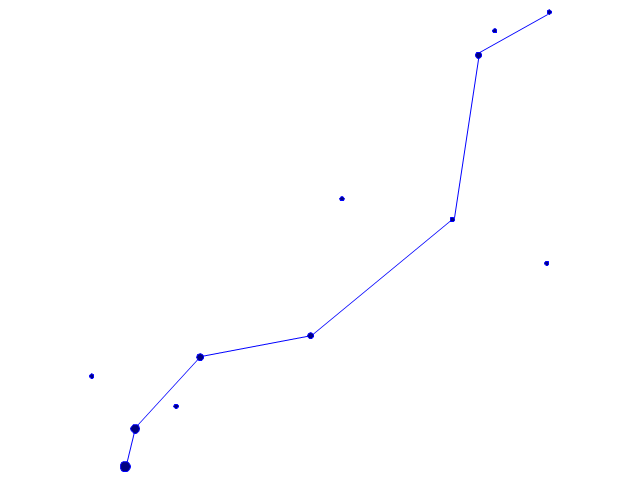
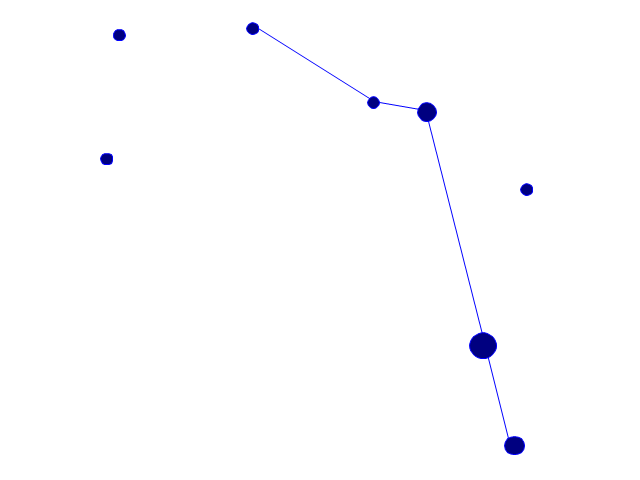
"The neutral zone trap (often referred to as simply the trap) is a defensive strategy used in ice hockey to prevent an opposing team from proceeding through the neutral zone (the area between the blue lines) to force turnovers. The strategy is generally used to level the playing field for teams that are not as offensively talented as their opponents, although the trap can also be used by teams simply looking to protect a lead late in the game. The trap was innovated by the Toronto Maple Leafs in the 1920s and 1930s, and more recently in the mid to late 1990s and early 2000s by the New Jersey Devils." [Neutral zone trap. Wikipedia]
The diagram example "Ice hockey - Defensive strategy - Neutral zone trap" was created using the ConceptDraw PRO diagramming and vector drawing software extended with the Hockey solution from the Sport area of ConceptDraw Solution Park.
The diagram example "Ice hockey - Defensive strategy - Neutral zone trap" was created using the ConceptDraw PRO diagramming and vector drawing software extended with the Hockey solution from the Sport area of ConceptDraw Solution Park.
Ice hockey diagram
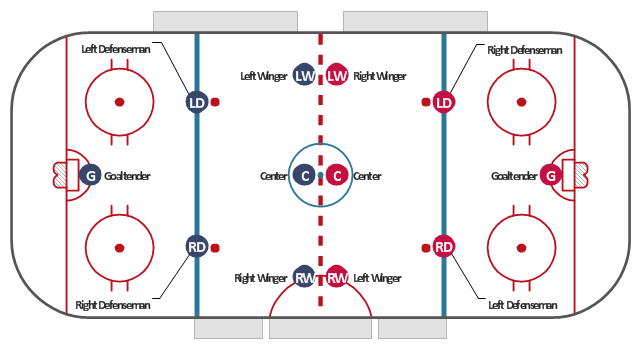
"An ice hockey rink is an ice rink that is specifically designed for ice hockey, a team sport. It is rectangular with rounded corners and surrounded by a wall approximately 1 meter (40-48 inches) high called the boards." [Ice hockey rink. Wikipedia]
"A team usually consists of four lines of three forwards, three pairs of defensemen, and two goalies. Five members of each team skate up and down the ice trying to take the puck and score a goal against the opposing team. Each team has a goaltender who tries to stop the puck from going into the goal." [Ice hockey. Wikipedia]
This ice hockey rink diagram was redesigned from the Wikimedia Commons file: Ice hockey rink with players russian.svg.
[commons.wikimedia.org/ wiki/ File:Ice_ hockey_ rink_ with_ players_ russian.svg]
This file is licensed under the Creative Commons Attribution-Share Alike 3.0 Unported license. [creativecommons.org/ licenses/ by-sa/ 3.0/ deed.en]
The diagram example "Ice hockey rink with players" was created using the ConceptDraw PRO diagramming and vector drawing software extended with the Hockey solution from the Sport area of ConceptDraw Solution Park.
Ice hockey rink diagram
The vector stencils library "Hockey positions" contains 13 symbols for drawing ice hockey player positions diagrams.
The symbols example "Design elements - Ice hockey positions" was created using the ConceptDraw PRO diagramming and vector drawing software extended with the Hockey solution from the Sport area of ConceptDraw Solution Park.
The symbols example "Design elements - Ice hockey positions" was created using the ConceptDraw PRO diagramming and vector drawing software extended with the Hockey solution from the Sport area of ConceptDraw Solution Park.
Ice hockey player symbols

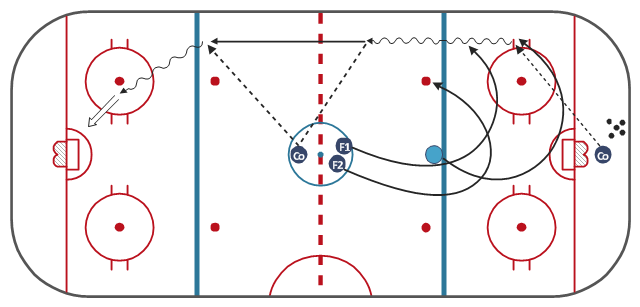
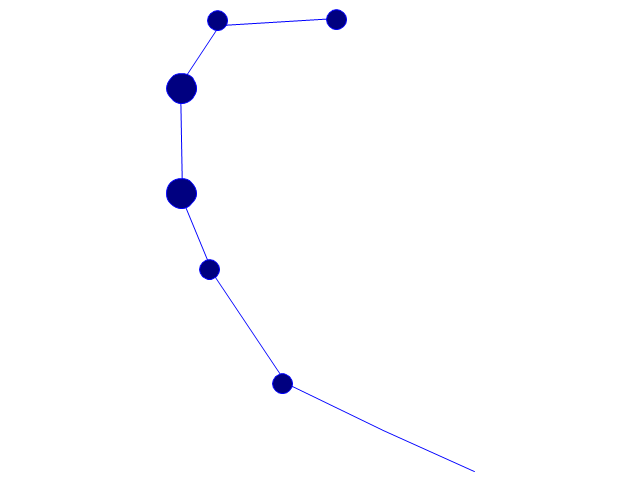
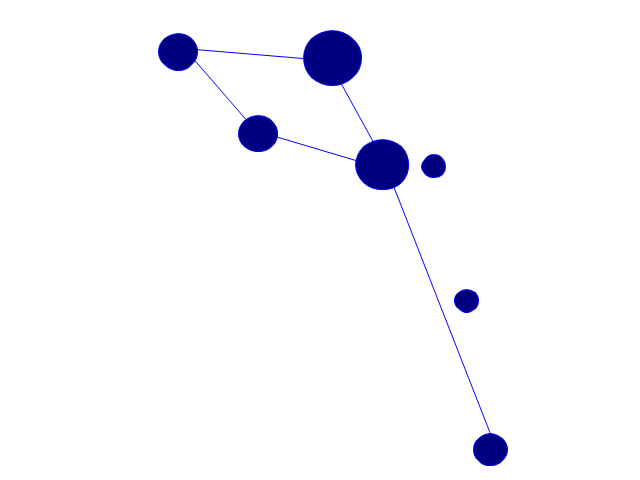
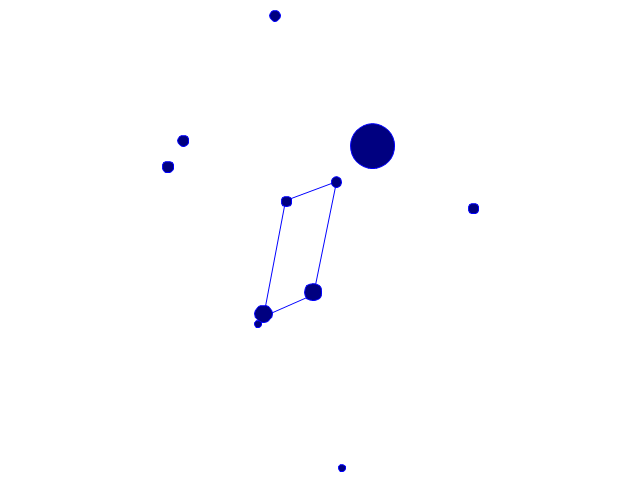
"A penalty in ice hockey is a punishment for an infringement of the rules. Most penalties are enforced by detaining the offending player within a penalty box for a set number of minutes, during which the player can not participate in play. Penalties are called and enforced by the referee, or in some cases the linesmen. The offending team usually may not replace the player on the ice, leaving them short handed as opposed to full strength. The opposing team is said to be on a power play, having one player more on the ice than the short-handed team. The short handed team is said to be "penalty killing" until the penalty expires and the penalized player returns to play. While standards vary somewhat between leagues, most leagues recognize several common degrees of penalty, as well as common infractions." [Penalty (ice hockey). Wikipedia]
The ice hockey diagram example "Penalty kill forecheck angling drill" was created using the ConceptDraw PRO diagramming and vector drawing software extended with the Hockey solution from the Sport area of ConceptDraw Solution Park.
The ice hockey diagram example "Penalty kill forecheck angling drill" was created using the ConceptDraw PRO diagramming and vector drawing software extended with the Hockey solution from the Sport area of ConceptDraw Solution Park.
Ice hockey diagram example
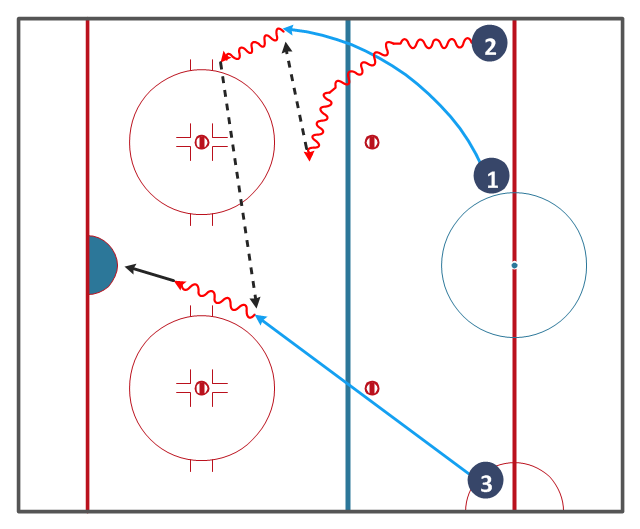
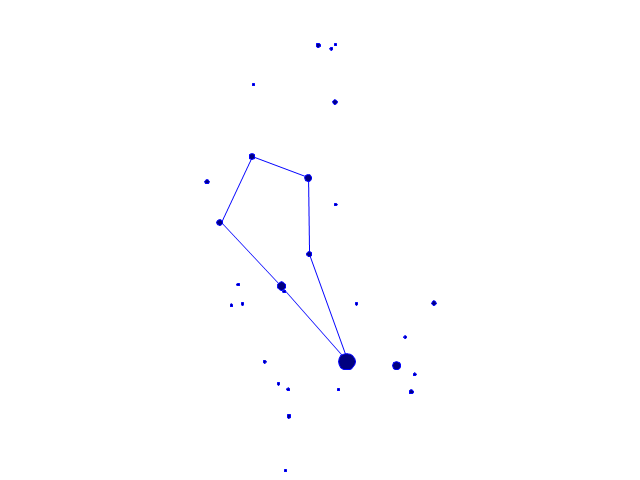
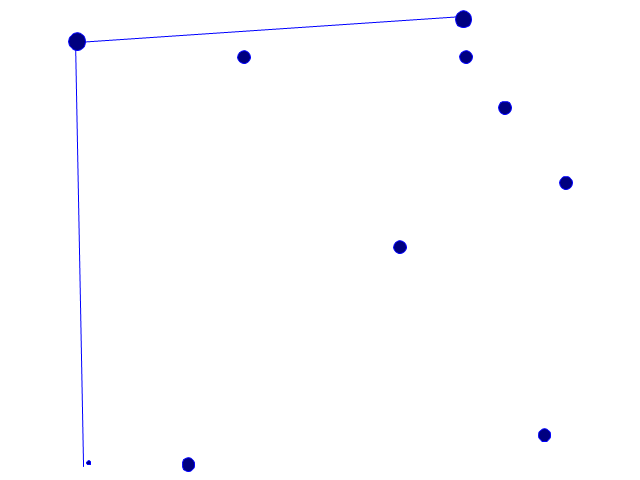
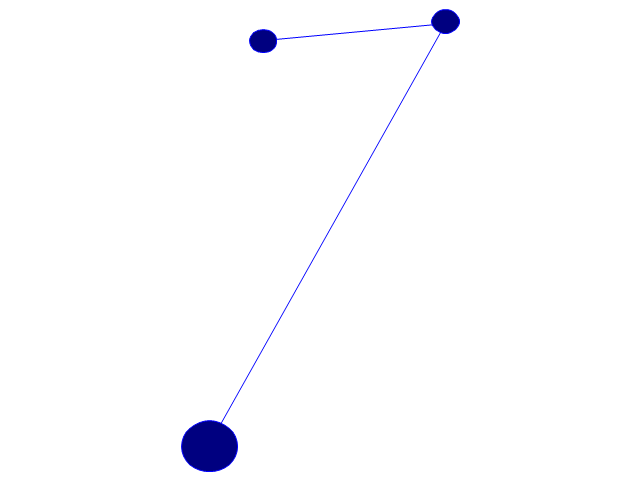
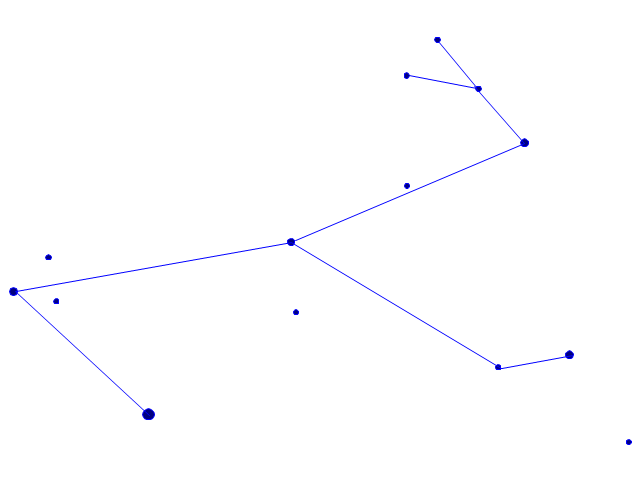
"The blue lines divide the rink into three zones. The central zone is called the neutral zone or simply centre ice. The generic term for the outer zones is end zones, but they are more commonly referred to by terms relative to each team. The end zone in which a team is trying to score is called the attacking zone or offensive zone; the end zone in which the team's own goal net is located is called the defending zone or defensive zone.
The blue line is considered part of whichever zone the puck is in. Therefore, if the puck is in the neutral zone, the blue line is part of the neutral zone. It must completely cross the blue line to be considered in the end zone. Once the puck is in the end zone, the blue line becomes part of that end zone. The puck must now completely cross the blue line in the other direction to be considered in the neutral zone again." [Ice hockey rink. Wikipedia]
The hockey drill diagram example "Entering offensive zone" was created using the ConceptDraw PRO diagramming and vector drawing software extended with the Hockey solution from the Sport area of ConceptDraw Solution Park.
Hockey drill diagram
"The neutral zone trap (often referred to as simply the trap) is a defensive strategy used in ice hockey to prevent an opposing team from proceeding through the neutral zone (the area between the blue lines) to force turnovers. The strategy is generally used to level the playing field for teams that are not as offensively talented as their opponents, although the trap can also be used by teams simply looking to protect a lead late in the game. The trap was innovated by the Toronto Maple Leafs in the 1920s and 1930s, and more recently in the mid to late 1990s and early 2000s by the New Jersey Devils." [Neutral zone trap. Wikipedia]
The diagram example "Ice hockey - Defensive strategy - Neutral zone trap" was created using the ConceptDraw PRO diagramming and vector drawing software extended with the Hockey solution from the Sport area of ConceptDraw Solution Park.
The diagram example "Ice hockey - Defensive strategy - Neutral zone trap" was created using the ConceptDraw PRO diagramming and vector drawing software extended with the Hockey solution from the Sport area of ConceptDraw Solution Park.
Ice hockey diagram
"A penalty in ice hockey is a punishment for an infringement of the rules. Most penalties are enforced by detaining the offending player within a penalty box for a set number of minutes, during which the player can not participate in play. Penalties are called and enforced by the referee, or in some cases the linesmen. The offending team usually may not replace the player on the ice, leaving them short handed as opposed to full strength. The opposing team is said to be on a power play, having one player more on the ice than the short-handed team. The short handed team is said to be "penalty killing" until the penalty expires and the penalized player returns to play. While standards vary somewhat between leagues, most leagues recognize several common degrees of penalty, as well as common infractions." [Penalty (ice hockey). Wikipedia]
The ice hockey diagram example "Penalty kill forecheck angling drill" was created using the ConceptDraw PRO diagramming and vector drawing software extended with the Hockey solution from the Sport area of ConceptDraw Solution Park.
The ice hockey diagram example "Penalty kill forecheck angling drill" was created using the ConceptDraw PRO diagramming and vector drawing software extended with the Hockey solution from the Sport area of ConceptDraw Solution Park.
Ice hockey diagram example
"In association football, the formation describes how the players in a team are positioned on the pitch. Different formations can be used depending on whether a team wishes to play more attacking or defensive football. ...
The 4–3–3 was a development of the 4–2–4, and was played by the Brazilian national team in the 1962 World Cup. The extra player in midfield allows a stronger defence, and the midfield could be staggered for different effects. The three midfielders normally play closely together to protect the defence, and move laterally across the field as a coordinated unit. The three forwards split across the field to spread the attack, and may be expected to mark the opposition full-backs as opposed to doubling back to assist their own full-backs, as do the wide midfielders in a 4–4–2. When used from the start of a game, this formation is widely regarded as encouraging expansive play, and should not be confused with the practice of modifying a 4–4–2 by bringing on an extra forward to replace a midfield player when behind in the latter stages of a game. This formation is suited for a short passing game and useful for ball retention.
A staggered 4–3–3 involving a defensive midfielder (usually numbered four or six) and two attacking midfielders (numbered eight and ten) was commonplace in Italy, Argentina, and Uruguay during the 1960s and 1970s. The Italian variety of 4–3–3 was simply a modification of WM, by converting one of the two wing-halves to a libero (sweeper), whereas the Argentine and Uruguayan formations were derived from 2–3–5 and retained the notional attacking centre-half. The national team which made this famous was the Dutch team of the 1974 and 1978 World Cups, even though the team won neither." [Formation (association football). Wikipedia]
The diagram example "Association football (soccer) formation 4-3-3" was created using the ConceptDraw PRO diagramming and vector drawing software extended with the Football solution from the Sport area of ConceptDraw Solution Park.
www.conceptdraw.com/ solution-park/ sport-soccer
Association football (soccer) formation diagram
-formation-diagram-association-football-(soccer)-formation-4-3-3.png--diagram-flowchart-example.png)
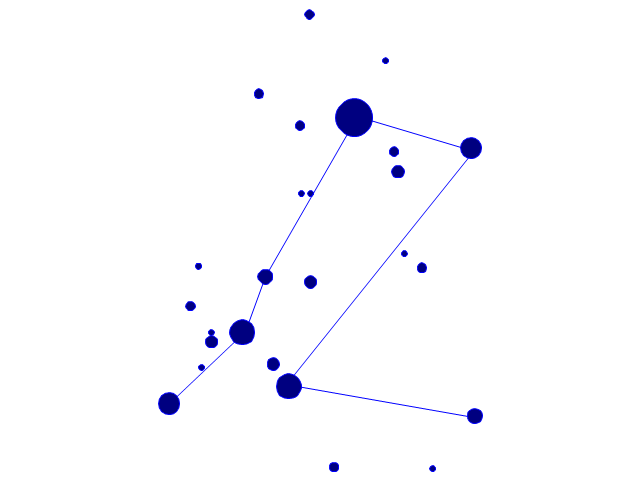
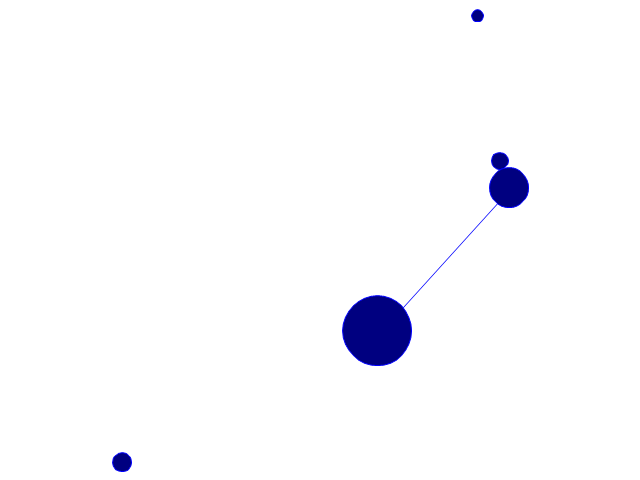
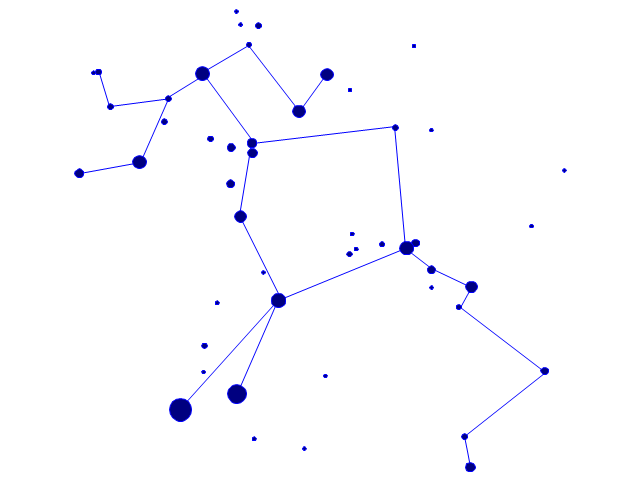
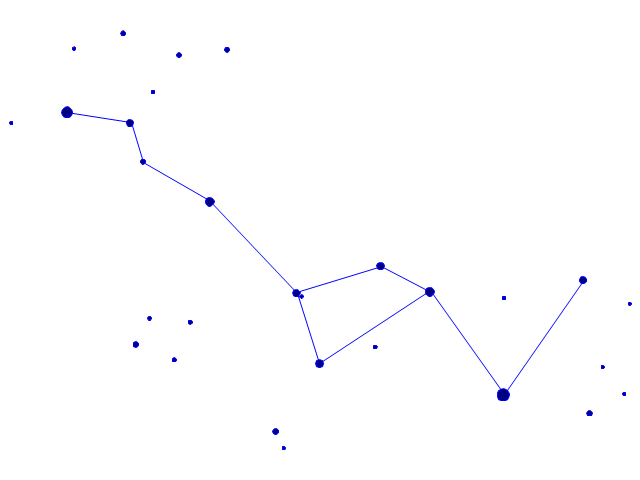
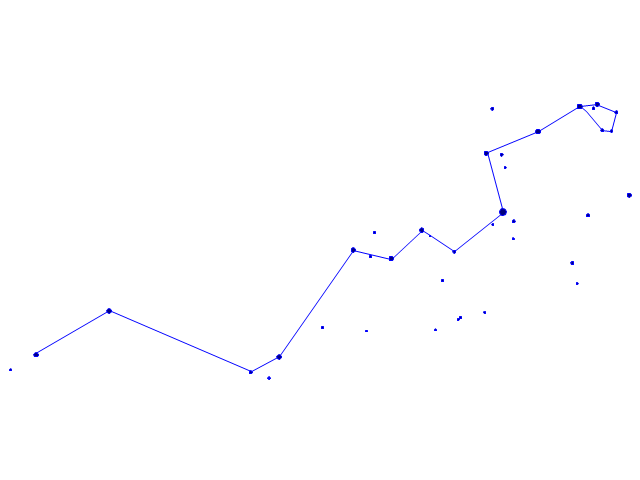
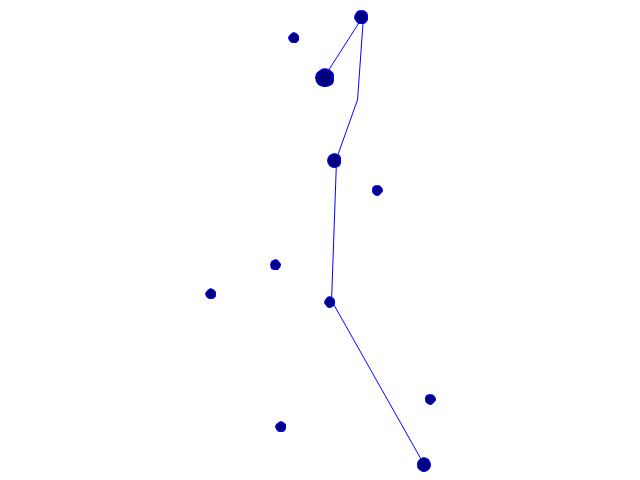
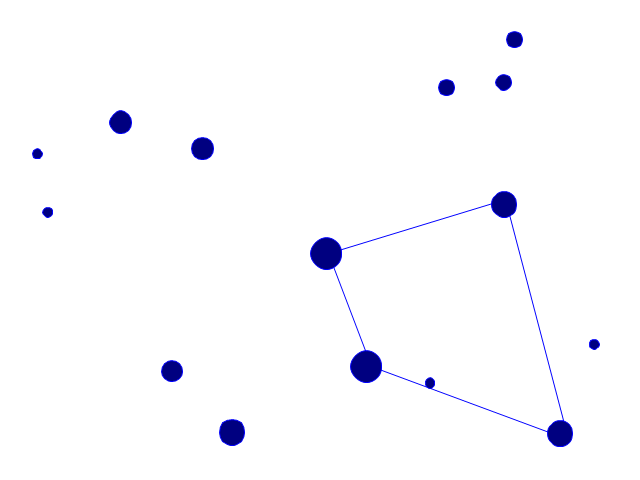
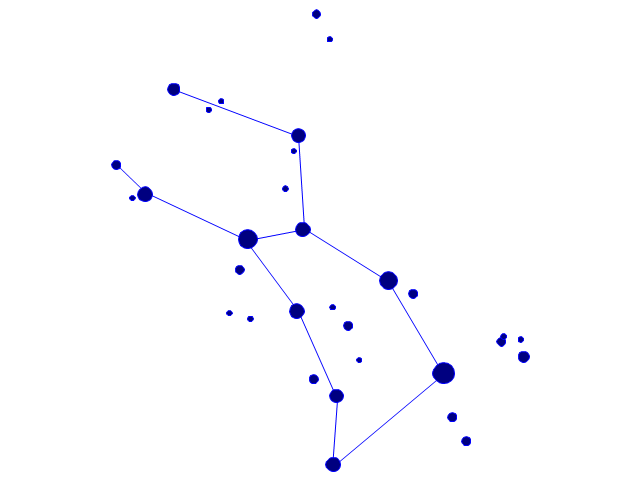
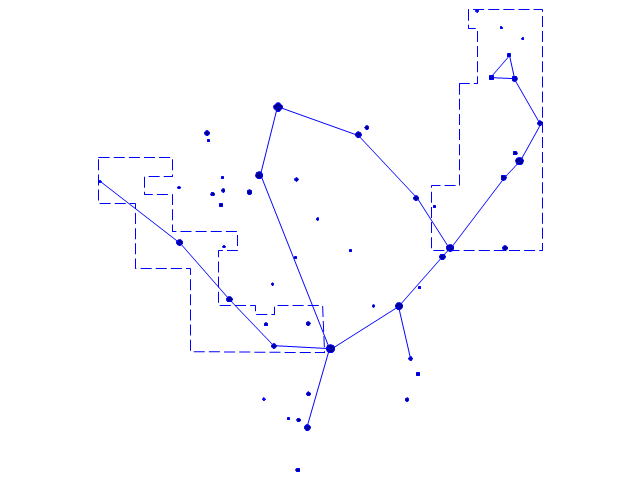
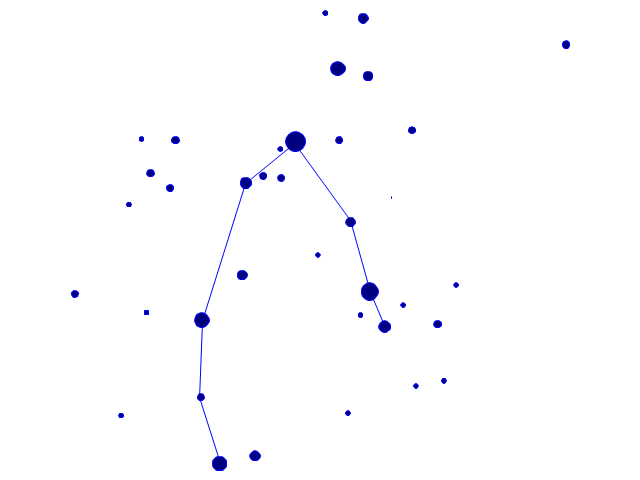
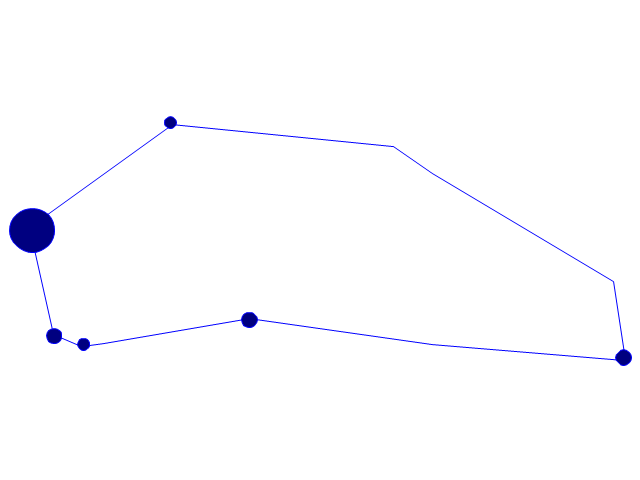
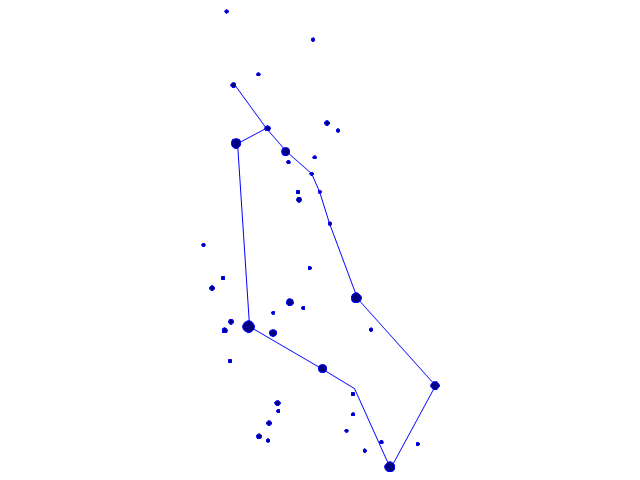
The vector stencils library "Constellations except Zodiac, Northern and Southern" contains 47 star constellation maps of all constellations except Zodiac, Northern (45-90 degrees) and Southern (45-90 degrees).
Use these shapes for drawing astronomical diagrams and illustrations in ConceptDraw PRO diagramming and vector drawing software extended with the Astronomy solution from the Science and Education area in ConceptDraw Solution Park.
Use these shapes for drawing astronomical diagrams and illustrations in ConceptDraw PRO diagramming and vector drawing software extended with the Astronomy solution from the Science and Education area in ConceptDraw Solution Park.
Andromeda
Antlia
Aquila
Auriga

Bootes
Caelum
Canes Venatici
Canis Major
Canis Minor
Centaurus
Cetus
Columba
Coma Berenices
Corona Australis
Corona Borealis
Corvus
Crater

Cygnus
Delphinus
Equuleus
Eridanus
Fornax
Grus
Hercules
Hydra
Lacerta
Leo Minor

Lepus
Lupus
Lynx
Lyra
Microscopium
Monoceros
Ophiuchus and Serpens
Orion

Pegasus

Perseus
Piscis Austrinus
Puppis
Pyxis
Sagitta
Sculptor
Scutum
Sextans
Triangulum
Vela
Vulpecula
"In association football, the formation describes how the players in a team are positioned on the pitch. Different formations can be used depending on whether a team wishes to play more attacking or defensive football. ...
The 3–3–4 formation was similar to the WW, with the notable exception of having an inside-forward (as opposed to centre-forward) deployed as a midfield schemer alongside the two wing-halves. This formation would be commonplace during the 1950s and early 1960s. One of the best exponents of the system was the Tottenham Hotspur double-winning side of 1961, which deployed a midfield of Danny Blanchflower, John White and Dave Mackay. FC Porto won the 2005–06 Portuguese national championship using this unusual formation under manager Co Adriaanse." [Formation (association football). Wikipedia]
The diagram example "Association football (soccer) formation 3-4-3" was created using the ConceptDraw PRO diagramming and vector drawing software extended with the Football solution from the Sport area of ConceptDraw Solution Park.
www.conceptdraw.com/ solution-park/ sport-soccer
Association football (soccer) formation diagram
-formation-diagram-association-football-(soccer)-formation-3-4-3.png--diagram-flowchart-example.png)
"In association football, the formation describes how the players in a team are positioned on the pitch. Different formations can be used depending on whether a team wishes to play more attacking or defensive football. ...
The WM system was created in the mid-1920s by Herbert Chapman of Arsenal to counter a change in the offside law in 1925. The change had reduced the number of opposition players that attackers needed between themselves and the goal-line from three to two. This led to the introduction of a centre-back to stop the opposing centre-forward, and tried to balance defensive and offensive playing. The formation became so successful that by the late-1930s most English clubs had adopted the WM. Retrospectively, the WM has either been described as a 3–2–5 or as a 3–4–3, or more precisely a 3–2–2–3 reflecting the letters which symbolised it. The gap in the centre of the formation between the two wing halves and the two inside forwards allowed Arsenal to counter-attack effectively. The W-M was subsequently adapted by several English sides, but none could apply it in quite the same way Chapman had. This was mainly due to the comparative rarity of Alex James in the English game. He was one of the earliest playmakers in the history of the game, and the hub around which Chapman's Arsenal revolved." [Formation (association football). Wikipedia]
The diagram example "Association football (soccer) formation 3-2-5 (WM)" was created using the ConceptDraw PRO diagramming and vector drawing software extended with the Football solution from the Sport area of ConceptDraw Solution Park.
www.conceptdraw.com/ solution-park/ sport-soccer
Association football (soccer) formation diagram
-formation-diagram-association-football-(soccer)-formation-3-2-5-(wm).png--diagram-flowchart-example.png)
"In association football, the formation describes how the players in a team are positioned on the pitch. Different formations can be used depending on whether a team wishes to play more attacking or defensive football. ...
The 2–3–5 was originally known as the "Pyramid", with the numerical formation being referenced retrospectively. ...
For the first time, a balance between attacking and defending was reached. When defending, the two defenders (fullbacks), would watch out for the opponent's wingers (the outside players in the attacking line), while the midfielders (halfbacks) would watch for the other three forwards.
The centre halfback had a key role in both helping to organise the team's attack and marking the opponent's centre forward, supposedly one of their most dangerous players.
It was this formation which gave rise to the convention of shirt numbers." [Formation (association football). Wikipedia]
The diagram example "Association football (soccer) formation 2–3–5 (pyramid)" was created using the ConceptDraw PRO diagramming and vector drawing software extended with the Football solution from the Sport area of ConceptDraw Solution Park.
www.conceptdraw.com/ solution-park/ sport-soccer
Association football (soccer) formation diagram
-formation-diagram-association-football-(soccer)-formation-2–3–5-(pyramid).png--diagram-flowchart-example.png)
"Offensive tactics in set pieces. ...
Throw-ins[edit]
How throw-ins are best handled depends on where it is:
(1) In one's own half the aim of a throw-in may be to retain possession in order to build up the next attack. The throw may or may not go toward the opponents' goal; the most unmarked player may be a full-back who is behind the ball. Such a throw followed by a quickly taken 'switch' pass can be an effective tactic. Under pressure however, the ball is often thrown up the line, toward the opponents' goal line to gain as much ground as possible.
(2) If the thrower is unmarked, a simple tactic is to take a short throw to the feet or chest of a marked player who immediately returns the ball to the thrower.
(3) In the last third of the pitch a player with a long throw can put pressure onto the defenders by throwing the ball deep into the opponents' penalty area, resulting in somewhat similar tactics to a corner kick situation, but with the added advantage of avoiding the offside trap, as an attacking player cannot be offside from a throw in. ...
Goal kicks.
A goal kick is an important 'set piece' that will occur many times in a game and yet few teams practice it. If taken quickly the kick may be taken short to a full-back who has run into a wide position. Although this may gain little ground it retains the all-important possession of the ball. A longer kick to the midfield is more common and it is vital that the midfield unit are in a position to receive it.
Corners.
A corner kick (or "corner") is a real goal scoring opportunity and it is essential to know who is the best at taking a good corner from both the left and right side of the pitch. A good corner will be aimed high across the goal and may be 'bent' towards or away from the goal. At least one of the forwards should be on or close to the goal line when the kick is taken.
Another tactic on a corner is to let the best shooter stay in the back "trash" position and have the defence worried about those up front. The player taking the corner kick makes a small pass back to the trash shooter who has time and space to take a good shot." [Association football tactics and skills. Wikipedia]
The diagram example "Association football (soccer) - The pitch: throw-ins, goal kicks, corners" was created using the ConceptDraw PRO diagramming and vector drawing software extended with the Football solution from the Sport area of ConceptDraw Solution Park.
www.conceptdraw.com/ solution-park/ sport-soccer
Association football (soccer) tactics diagram
-tactics-diagram-association-football-(soccer)---the-pitch:-throw-ins,-goal-kicks,-corners.png--diagram-flowchart-example.png)
- What Does The Right Wing Do In Hockey
- The Positions Of Left And Right Wing Player
- Hockey positions - Vector stencils library | Hockey positions - Vector ...
- Position Of A Winger On A Park
- Right Wing In Field Hockey
- What Possition Is The Right Wing A Soccer
- Right Winger Soccer
- Hockey positions - Vector stencils library | Ice Hockey Positions ...
- Design elements - Ice hockey positions | Hockey positions - Vector ...
- Soccer (Football) Positions | Offensive Play – Double Wing Wedge ...
- Soccer (Football) Positions | Offensive Play – Double Wing Wedge ...
- Association football (soccer) positions | Left Winger In Football Is ...
- Ice Hockey Wing Structure
- Ice hockey rink with players
- Hockey Player Position Diagram
- A Football Fields Place Name Pic De Box Left Wing Right Wing Mid ...
- Ice hockey - Defensive strategy - Neutral zone trap
- Penalty kill forecheck angling drill
- Soccer silhouettes - Vector stencils library | Ice Hockey Positions ...
- How To Carry A Ball For Right Wing